How to Remove Vinyl From Shirts When You’ve Made a Mistake
Chances are, you have a shirt or sweatshirt with vinyl on it tucked away in your closet or folded in your dresser. Vinyl is a simple, budget-friendly way to customize clothing, and you may try to do it on your own. However, mistakes happen, and you may find yourself needing to remove the vinyl.
Keep reading to better understand how vinyl works on clothing and how you can remove it if you make an error. And if you’re starting from scratch, check out wholesale shirts and wholesale hoodies to make your own vinyl creations. This is a great way to make shirts for your school, sports team, extracurricular group or simply to show off your sense of style.
Why You May Need to Remove Vinyl
There are two common reasons you may need to remove vinyl from a shirt. One reason is you’re trying to refresh an old shirt that has vinyl on it. You may be able to remove the existing vinyl and put a new design on it. Old vinyl that has been set for a long time is often more difficult to remove, so make sure you’re positive about taking the vinyl off.
A second reason to remove vinyl, and perhaps the most common, is because you made a mistake. Adding a vinyl accent to a shirt can be a simple process. You choose your vinyl decal, remove any backing, place it on your shirt and apply heat. However, accidents happen, and you might use the wrong decal, put it in the wrong spot, accidentally fold the decal or not like its placement.
If one of these scenarios happens to you, don’t go straight to throwing your shirt away. Here are some steps you can take to save your project and get back on track.
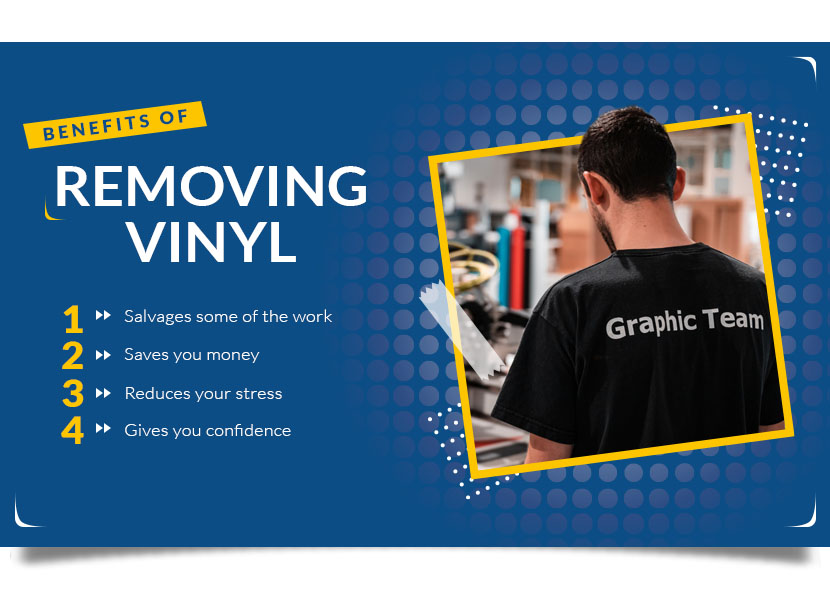
Benefits of Removing Vinyl
Before diving into vinyl removal, you may wonder if it’s worth it. In most cases, it likely is. But if it’s not, you can consider finding a new sweatshirt, 1-dollar t-shirt, or polo to start over. You might not want to get a new shirt if you prefer the one you already have or if you have other customizations (like tie-dye) that you aren’t able to redo. Choosing to remove the vinyl may help by:
- Salvaging some of the work that you’ve already done
- Saving you money and the need to buy new supplies
- Reducing your stress when you’re able to save your project
- Giving you the confidence to pursue additional vinyl projects
By successfully removing vinyl, you can also feel a sense of accomplishment and be prepared should a mistake happen again. Vinyl projects can be a great way to save money and exercise creativity. Knowing how to fix your error may encourage you to make vinyl transfers your newest hobby.
Step 1: Understand How Vinyl Transfers Work
You may be ready to get all of your supplies out and get to work. But first, you should understand how vinyl transfers work. This can help you figure out how to complete the removal and determine what method will work best for your project. It may also help you avoid further mistakes.
T-shirt vinyl typically comes in a roll, pack or sheet. On the back of the vinyl is a layer of adhesive that is activated with heat. Once you place the vinyl on your shirt, apply heat with an iron, press or another tool to adhere the vinyl to the fabric.
To adequately apply the vinyl, it’s important to use the right amount of heat, pressure and time. This will help ensure the application lasts.
Step 2: Lay Out the Damaged Shirt
Figure out where you want to work and lay out your damaged shirt. Make sure it is laid out on a flat surface and assess the extent of the damage. Be sure you have enough space to work comfortably and keep your supplies within reach.
If you plan to use heat to remove the vinyl, get out an ironing board and lay the shirt on the ironing board. If you plan to use chemicals, be mindful of your work surface and consider working close to a sink.
Step 3: Determine the Shirt’s Material
Check the tags inside your white t-shirt for tie-dye or screen printing and determine the material. If it’s a cotton t-shirt, you can typically use heat or chemicals to remove vinyl. Cotton is one of the most common options for vinyl shirts, which will be the focus of this article. If you’re working with a tie-dye shirt, you may want to avoid chemicals. Strong substances, like rubbing alcohol, can cause fading or damage.
Heat may not be an option if there is a high percentage of synthetic materials. For information on the chemical process, please see the end of the article. There is a different process and different supplies required to correct a vinyl mistake using chemicals and cleaners.
Shop White T-Shirts for Tie Dye Projects
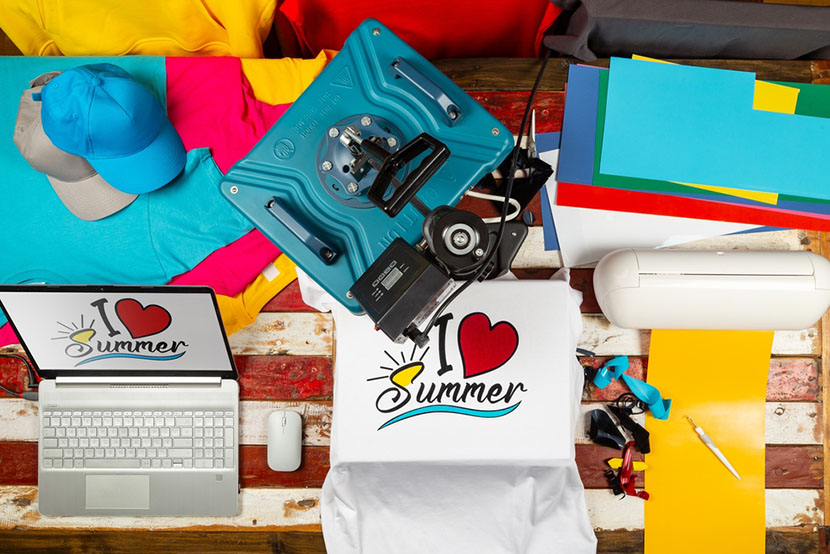
Step 4: Gather Your Supplies
Before working with the vinyl, make sure you have all of the supplies you need. This includes:
- A blow dryer or iron
- An ironing board
- A towel or thick piece of cardboard
- Tweezers
- Scissors or a knife
- A piece of paper (if you’re using an iron)
If you make a mistake when first setting the vinyl, you may be able to use your dryer on its hottest setting to loosen and remove the vinyl. You can even toss the t-shirt in the dryer after using a blower dryer or iron to remove any lingering vinyl.
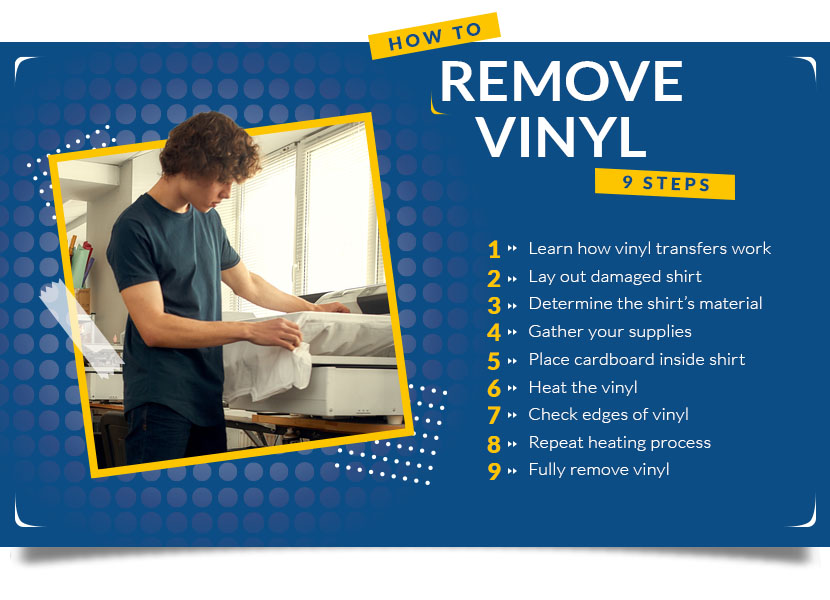
Step 5: Place the Towel or Cardboard Inside the Shirt
If using an iron, plug it in and set the temperature so that it starts warming up. Then, place a towel or piece of cardboard inside the shirt to avoid anything transferring to the back of the shirt. Make sure the towel or cardboard is positioned adequately behind the decal and isn’t going to slip or move around.
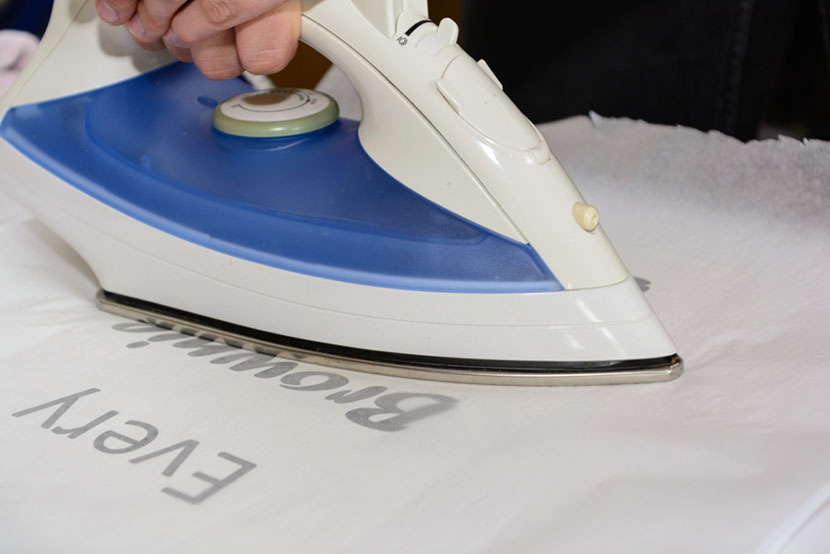
If you’re using an iron, place a piece of paper over the vinyl decal to avoid it melting onto the iron.
Step 6: Heat the Vinyl
Begin heating the vinyl. Slowly move the iron across the paper, applying pressure to ensure the vinyl heats up. If using a hair dryer, move it back and forth as close to the decal as you can without it touching.
Use caution when applying heat to avoid damaging your materials or hurting yourself. Use an ironing board to avoid damaging your table, counter or other work surfaces.
Step 7: Check the Edges of the Vinyl
Pause and check the vinyl every 30 seconds or less to monitor your progress. You may notice the edges or corners of the vinyl starting to curl or peel. Use a pair of tweezers to gently pull at the edges. Pull the vinyl off as much as you can until you get resistance.
Step 8: Repeat the Heating Process
It will likely take a few rounds of heating, checking and peeling to remove all of the vinyl. If you’re using an iron, avoid pressing the removed vinyl back onto the shirt. Gently use scissors or a knife to cut the vinyl away as needed.
Step 9: Fully Remove the Vinyl
Be patient with the process until you can completely remove the vinyl. If small pieces remain, you may be able to toss the shirt into the dryer on the highest setting. Once the shirt gets hot, scrape away any leftover pieces. Be careful scraping and tugging at vinyl to avoid damaging the fabric.
Optional: How to Remove Shirt Vinyl With Chemicals
There may be instances when you need to use chemicals to remove vinyl, such as if you have a polyester shirt. Chemicals you can use include commercial vinyl remover, rubbing alcohol, acetone, Goo Gone or another strong cleaner. You will need a sink or bucket of water, a large plastic bag and tweezers.
Depending on which chemicals you use, you may also need a face mask, a respirator, gloves or other protective gear.
To remove vinyl with chemicals, you must:
- Cover your workspace with a plastic bag or tablecloth.
- Turn the t-shirt inside out, so the back of the decal is face up.
- Apply the chemical to the shirt where the decal is located until it is soaked through.
- If using rubbing alcohol or acetone, you may want to soak the decal directly in the liquid.
- Pull at the fabric and wiggle the decal to loosen it.
- Turn the t-shirt right-side out and use tweezers to pry at the edges of the vinyl.
- Work carefully to remove the vinyl and resoak the fabric if needed.
- Rinse, wash and dry the shirt as needed.
In some cases, you may need to gently scrape away leftover vinyl. If that doesn’t work, grab some petroleum jelly and laundry detergent. Apply the jelly to the back of the decal, apply a few drops of detergent and rub it in until the adhesive clumps. Then, you should be able to rinse everything off with hot water.
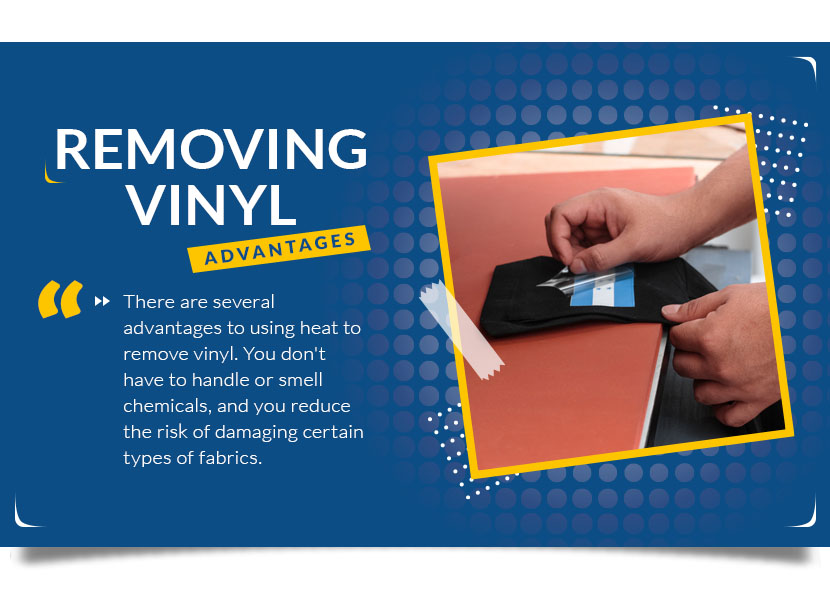
Final Thoughts
There are several advantages to using heat to remove vinyl. You don’t have to handle or smell chemicals, and you reduce the risk of damaging certain types of fabrics. However, you may need to rely on the chemical method for synthetic materials. Whichever process you pursue, make sure you have the right supplies on hand and be prepared to dedicate time and patience to the process.
Vinyl is a great way to customize t-shirts, hoodies, cloth bags and other types of clothing and accessories. Don’t let the fear of making a mistake keep you from pursuing a vinyl transfer project. By understanding how to remove vinyl from shirts, you can be prepared to fix your errors and salvage your creation. You may even consider buying clothing in bulk to make vinyl clothing for multiple people or to give yourself many backup pieces to work with.
Image Credits
triska-vector/Shutterstock.com
BAZA Production/Shutterstock.com
Djavan Rodriguez/Shutterstock.com
Edward R/Shutterstock.com
Andrey_Popov/Shutterstock.com
Bildagentur Zoonar GmbH/Shutterstock.com
stockphoto-graf/Shutterstock.com

Popular Posts
- Birthday T-Shirts Are Easy and Fun!
What better day to talk about birthday t-shirts than on your birthday?! Today is MY birthday and I love thinking...
- The 5 Most Popular T-Shirt Colors Are....
Being in the t-shirt, business we get asked this question all the time. What are the most popular t-shirt colors? No...
- What is a Lift Gate Delivery Service?
When you order bulk t-shirts online, your shipping charges are calculated using the weight of your shipment and your d...
Categories
- All Things Adair
- Branded Apparel
- Buying Guide
- Celebrate Holidays With T's
- Clothing Maintenance
- Colors
- Creative T-Shirt Ideas
- DIY
- Fabrics
- Fruit of the Loom
- Hats
- Helping the Community
- History of T-Shirts
- Learn About Our Products
- Matching T-shirts
- Polos
- Scrubs
- Style
- Sweatshirts
- T-Shirts in Sporting Events
- Team T-shirts
- The 411 on the T-Shirt Business
- Tie Dye
- Uncategorized
- Underwear
- Wholesale Apparel