5 Steps to Tie Dye with Food Coloring
Making tie-dyed shirts and accessories is one of those projects that’s perfect for kids of all ages. Whether you’re looking for a way to pass a summer afternoon with your little ones or you want to breathe new life into some of your old clothes, there is just something magical about creating one-of-a-kind garments featuring vibrant colors and designs.
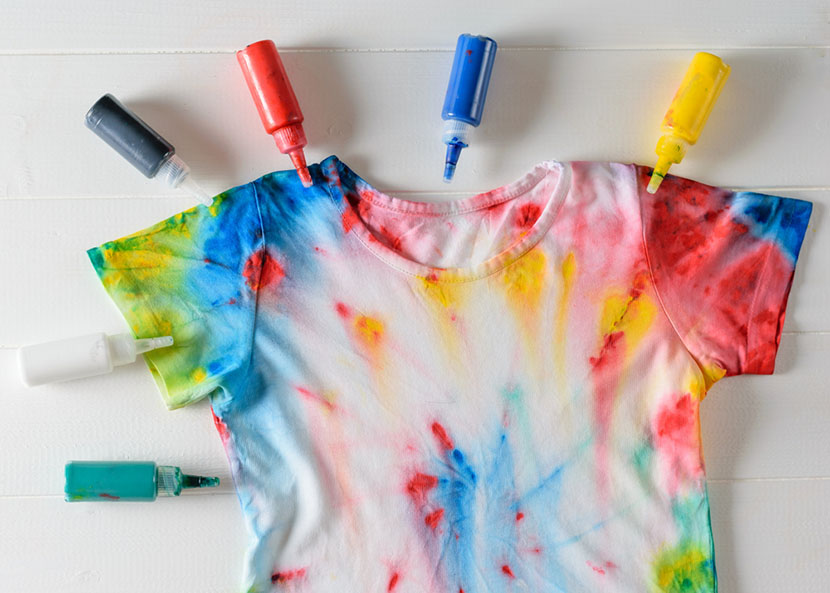
Source: VLADIMIR VK/Shutterstock.com
Shop 1 Dollar T-Shirts for Your Next Tie Dye Project
If you want to do some tie-dyeing, don’t run to the store to buy a kit just yet! You might have everything you need to create your own custom apparel in your kitchen. With food coloring, you can achieve bright colors using natural ingredients rather than chemical dyes. And even if you stocked up on several 1 dollar t-shirts to tie dye, a few of those little bottles of food coloring go a long way. Read on to learn how to tie dye with food coloring.
1. Gather Your Supplies
This project requires basic crafting supplies you probably already have lying around the house, including:
- Food coloring in your choice of colors
- White vinegar
- Shirts or accessories to dye
- Condiment squeeze bottles
- Salt
- Gloves
- Something to protect your work surface
- Plastic bags
- Rubber bands
- Large bowl
Plain t-shirts are the best option for tie-dyeing, especially for beginners. Wholesale hoodies work well, too, though. You can also try dyeing wholesale hats if you’d like to make one-of-a-kind accessories. Whatever you choose, garments and accessories made from 100 percent cotton are best. Cotton/polyester blends work, too, but the results usually aren’t as vibrant.
2. Soak
Combine one part vinegar and one part water in a large bowl, making sure there is enough liquid to fully submerge the item you want to dye. Place the item in the bowl and let soak for one hour. This will allow you to achieve vibrant results. After an hour, remove the item and wring it out to remove excess liquid.
3. Choose and Create Your Design
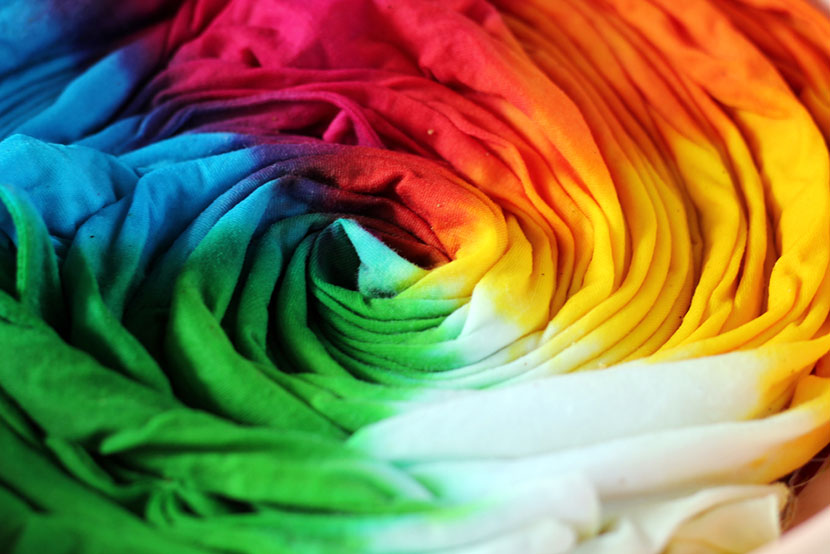
Source: TairA/Shutterstock.com
Decide on a design for your shirt. From the classic spiral to bull’s eyes, hearts and more, there are tons of options. Of course, you are also free to wing it and see what happens rather than following a specific pattern.
Fold, crumple and twist your shirt or another item as desired, and secure the fabric with rubber bands.
4. Mix and Apply Dye
Fill a squeeze condiment bottle with about half a cup of water and then add approximately 15 drops of food coloring. Shake to mix. Repeat for each color you’d like to use. Then, apply the food coloring solutions to the fabric just like you would if you were using regular dye. Be sure to apply the food coloring to both sides of the clothing item to ensure even coverage.
When finished, place the item in a plastic grocery bag. Let sit for a minimum of eight hours to ensure the food coloring has time to set. We recommend waiting even longer for the most eye-popping results.
5. Rinse and Wash
Wearing plastic gloves, take the item out of the bag and carefully remove the rubber bands while rinsing under cool water. Keep rinsing until the water runs clear. Finally, wash the item separately using hot water and gentle laundry detergent. Dry using high heat to help set the food coloring dye. We recommend washing the item by itself for the first several washes to avoid staining your other clothes.
We Have the Wholesale Hoodies You Need
Conclusion
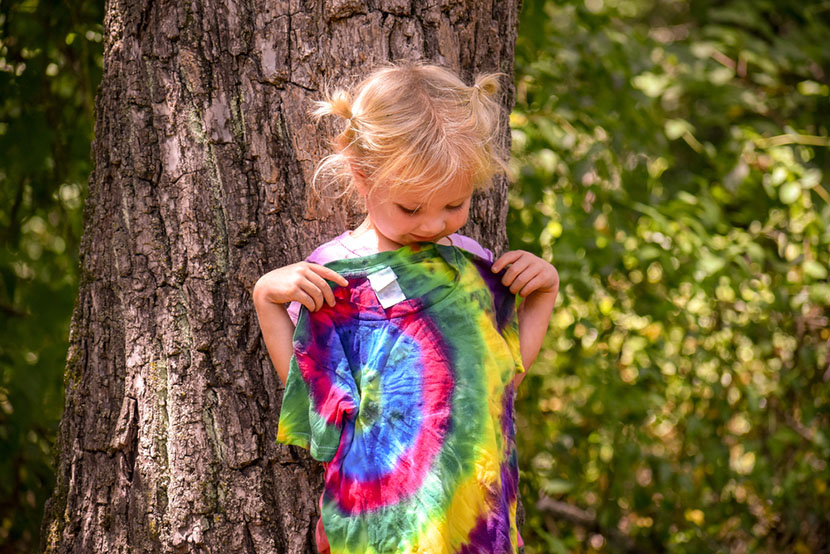
Source: Ana Hollan/Shutterstock.com
Tie-dyeing shirts and accessories with food coloring is a fun and affordable project. Keep in mind, though, that food coloring dye will fade over time. Permanent dyes fade, too, but not as quickly as food coloring. Keep your new tie-dyed item looking good for as long as possible by laundering in cold water on a gentle cycle and hanging to dry. Also, avoid washing with heavy items.

Popular Posts
- Birthday T-Shirts Are Easy and Fun!
What better day to talk about birthday t-shirts than on your birthday?! Today is MY birthday and I love thinking...
- The 5 Most Popular T-Shirt Colors Are....
Being in the t-shirt, business we get asked this question all the time. What are the most popular t-shirt colors? No...
- What is a Lift Gate Delivery Service?
When you order bulk t-shirts online, your shipping charges are calculated using the weight of your shipment and your d...
Categories
- All Things Adair
- Branded Apparel
- Buying Guide
- Celebrate Holidays With T's
- Clothing Maintenance
- Colors
- Creative T-Shirt Ideas
- DIY
- Fabrics
- Fruit of the Loom
- Hats
- Helping the Community
- History of T-Shirts
- Learn About Our Products
- Matching T-shirts
- Polos
- Scrubs
- Style
- Sweatshirts
- T-Shirts in Sporting Events
- Team T-shirts
- The 411 on the T-Shirt Business
- Tie Dye
- Uncategorized
- Underwear
- Wholesale Apparel