How to Tie Dye with Bleach: The Complete Guide

Tie dye is a quintessential summertime activity. Chances are, you’ve already spent lots of days soaking up the sun, applying vibrant colors to white shirts for tie dye, and coming up with one-of-a-kind fashion items. You might not have experience with one of the hottest trends of 2022, though — reverse tie dye.
Whether you’ve grown bored of traditional tie dye or are just looking for a different type of project to try for the kids, doing reverse tie dye is an excellent option. It’s even a great way to repurpose your old, faded or stained dark-colored tees and hoodies. Are you interested in learning this fun and fashionable technique? If so, keep reading to learn how to tie dye with bleach!
What Is Bleach Tie Dye?
Before we dive into the specifics, let’s take a moment to talk about this technique and what it is. Essentially, bleach tie dye is the opposite of traditional tie dye. Instead of adding color to light-colored bulk t-shirts and other garments using dye, this process involves removing color from darker colors — including black — with bleach.
The dye used in traditional tie dye usually needs to set for a minimum of six to eight hours before you can rinse and see your results. However, bleach tie dye provides nearly instant gratification. Instead of letting it sit for several hours, you’ll be able to rinse it in as little as 10 minutes. The speedy nature of this process makes it ideal for birthday parties, cookouts and other events since everyone will be able to take their creations home the same day.
Check Out Our White T-Shirts for Tie Dye!
Bleach tie dye is also an excellent way to breathe new life into discolored and stained garments. This makes it a perfect option if you’re looking for an eco-friendly way to upcycle old and damaged clothing.
Safety Notes
Chlorine bleach is a common household cleaning product. However, despite how frequently you might already use it, don’t forget that it is also a corrosive chemical. It can burn your skin and eyes and even produce toxic gas when mixed with certain chemicals. For this reason, taking proper precautions is crucial when working with bleach.
Don’t allow young kids to handle bleach and constantly supervise older kids while working on this project. Even as an adult, take proper safety precautions. Work outside or in a very well-ventilated area. Wear a face shield or goggles to protect your eyes from accidental splashes and wear gloves to prevent burns. Never combine bleach with anything other than water, and when mixing, always pour the bleach into the water — not the other way around — to minimize splashing.
Always take the time to protect yourself, your kids and your work area. Treat bleach with respect, and keep safety in mind at all times to avoid accidents.
How to Tie Dye with Bleach
Now that we have all of that out of the way, let’s get to the fun part! Follow the steps below to create your first bleach-dyed shirt.
Collect Your Supplies
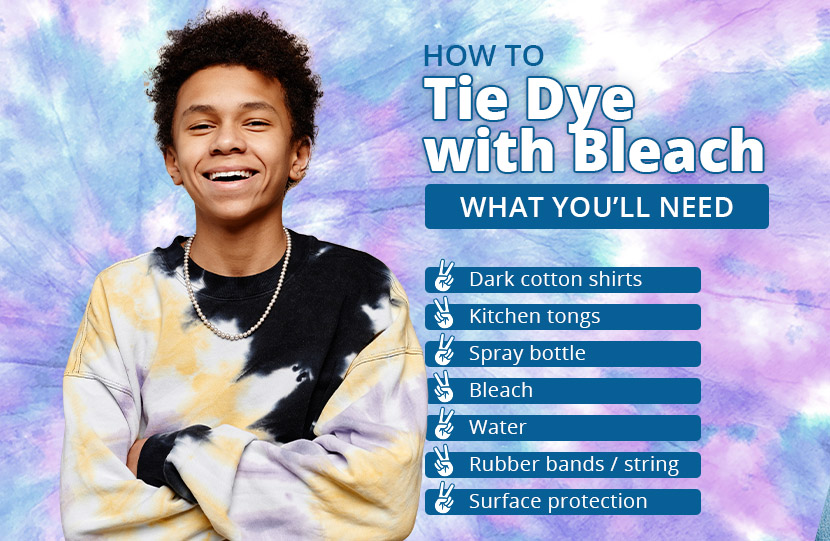
Making a bleach-dyed shirt requires only a few supplies. You probably already have everything you need at home. You’ll need:
- Black or dark-colored cotton shirts. Wholesale shirts are ideal because they’re inexpensive and ensure you will have backups if you make a mistake.
- Kitchen tongs
- Spray bottle. Make sure it’s a clean bottle with no residual chemicals from other cleaning products!
- Bleach. You need regular household chlorine bleach for this project, not color-safe bleach.
- Water
- Rubber bands or string
- Something to protect your work surface (plastic tablecloth, scrap cardboard, etc.)
- An outdoor or well-ventilated area in which to work
Prepare Your Work Area and Supplies
If you’re using new shirts, wash them using regular laundry detergent and skip the fabric softener. It’s up to you whether you want to dry them or apply bleach while the fabric is still wet. Skipping the dryer saves time, but the bleached area may turn out a bit less defined when using a damp shirt. Applying the bleach to dry fabric yields the sharpest design.
Cover your work area. If you are working outside and using a lightweight cover, like a tablecloth or trash bag, consider taping them down. Even if it’s not a windy day, even a slight breeze can make a big mess. It’s better to be safe than sorry!
Next, mix up a 50/50 bleach solution. Fill your spray bottle halfway with water and then carefully fill it the rest of the way with household bleach.
Get Your Shirt Ready
Decide on a pattern for your shirt. You can use any of the traditional techniques, including spiral, bull’s-eye, crumple, etc. Once you’ve chosen a tie-dye technique, start folding the shirt to achieve the desired design. Secure with rubber bands or string while you work. If you are trying to create a design with sharp lines, consider using binder clips to hold clean creases in place.
Place the shirt on your work surface and you’re ready for the next step.
Apply Bleach
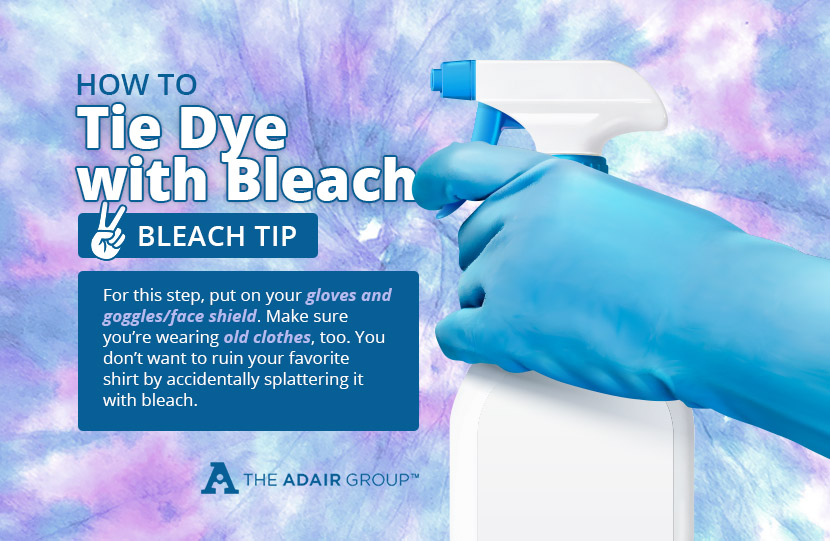
With your shirt and work area prepped, it’s time to apply the bleach. If you haven’t already, put on your gloves and goggles/face shield. Make sure you’re wearing old clothes, too. You don’t want to ruin your favorite shirt by accidentally splattering it with bleach.
Spray your bleach solution on the areas of the shirt you want to remove the color from. This could be all of the fabric visible after folding and securing, or it may be a small section depending on the design and your preferences. In either case, work carefully to make sure most of the bleach remains on the shirt. Once you’ve finished the front, use your kitchen tongs to flip the shirt over and then spray the backside.
Most garments made from 100 percent cotton will start changing color within seconds, so work as quickly as you can without making a mess.
Optional: Try a Different Technique
If you don’t have a spray bottle or are looking for a more controlled method of applying bleach to fabric, use toilet bowl cleaner. Follow the exact same procedure as above, but drizzle the toilet bowl cleaner over the fabric instead of spraying a bleach solution. Just be mindful to apply it as evenly as possible to ensure consistent results.
Let the Bleach Work Its Magic
Keep a close eye on your shirt as the bleach does its job. You may be able to rinse in as little as 10 minutes. However, it could take a bit longer to achieve the desired result. Feel free to leave it on for up to 30 minutes, as long as you monitor it closely. If you leave it on too long, it will start eating through the fabric.
Keep in mind that bleach doesn’t turn dark fabric white. Instead, the bleached area will be a light orangish color.
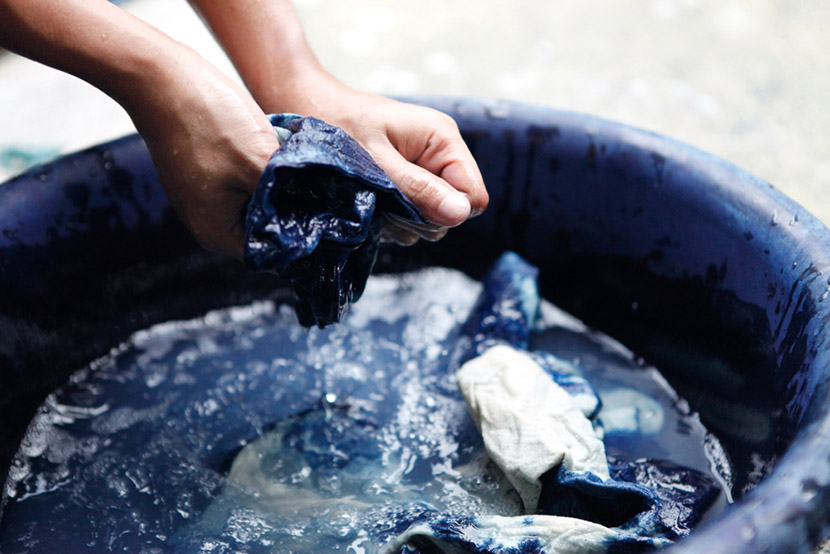
Rinse and Wash
Pick the shirt up with your tongs and move it to an area where you can rinse it. This could be your kitchen sink or bathtub, or you could use your garden hose. Rinse thoroughly with the rubber bands/strings/clips still in place. Then, remove them and rinse again. Do your best to remove all of the bleach.
Next, immediately put the shirt in your washing machine and launder as usual. Unlike traditional tie dye, you don’t need to dry using high heat to set the dye. As soon as your shirt is clean and dry, it’s ready for wear.
Bonus: Step Up Your Reverse Tie Dye Game!
After reverse tie dyeing a few tees, experiment with different garments and accessories. You can bleach wholesale hoodies, hats, blankets, tote bags and more. For best results, just be sure to use products made from 100 percent cotton. You can bleach tie dye 50/50 cotton-polyester blends, but the results will be less dramatic. This could be perfect if you’re going for a more subtle look.
Shop Wholesale Hoodies at The Adair Group
When you’re ready to really take your reverse tie dye skills to the next level, try adding color to the bleached areas. To do this, start by bleaching and laundering the shirt according to the above instructions. For the best results, skip drying.
Spread the damp shirt out on your work surface, smoothing away any wrinkles. Then, mix up the dye in a traditional tie dye kit. Once mixed, squirt each color onto the area you want to dye. Be careful when overlapping colors to avoid creating a muddy brown. Instead, place primary colors next to each other so they mix to form pretty colors. Red and blue make purple, yellow and blue make green and red and yellow make orange. Once you’ve finished the front, flip and repeat on the back. Most of the back will likely already be covered in dye from the front, but you will need to fill in some blank spots.
Carefully place the shirt in a plastic grocery bag and tie the bag closed. Put it aside for a minimum of six to eight hours. Let the dye work its magic overnight for the most vibrant results. The longer you give the dye to set, the brighter the end result will be. Now is an excellent time to be patient.
When the dye has had enough time to set, put on some gloves and remove the shirt from the bag. Rinse thoroughly under cool running water. Continue rinsing until the dye runs clear and then launder the shirt as usual. Dry using high heat to set the color and help prevent future fading.
Keep Your Tie Dye Looking Great
Take special care when washing your bleach tie-dyed shirt if you added color. For starters, wash it separately the first few times to make sure there’s no remaining dye to damage your other clothes.
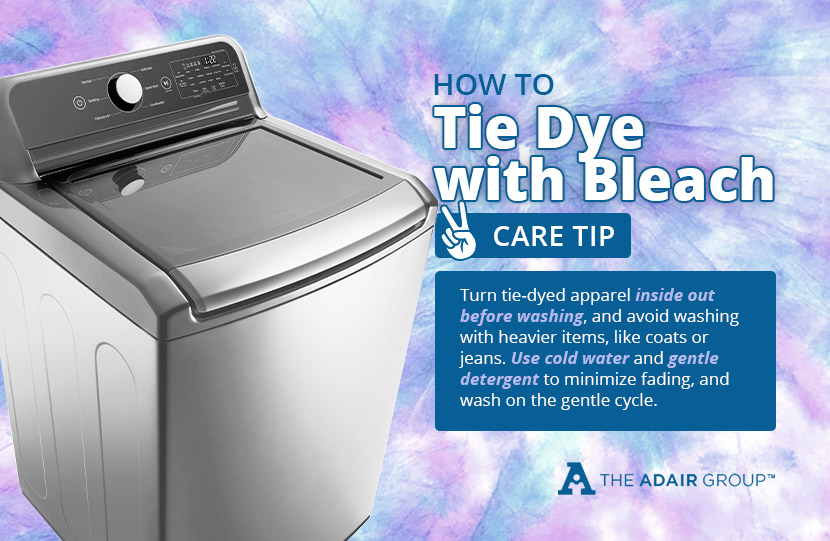
Turn tie-dyed apparel inside out before washing, and avoid washing with heavier items, like coats or jeans. Use cold water and gentle detergent to minimize fading, and wash on the gentle cycle. Avoid stain removers and fabric softener. If you must use a stain remover to get rid of a spot, choose one that does not contain bleach and use as little as possible.
Remove your clean tie-dyed apparel from the washer as soon as possible. The longer you let it sit, the more time the dye has to bleed out. Ideally, you should hang it to dry either indoors or in a shady area as soon as the wash cycle ends. Don’t hang in direct sunlight, as the sun can make the dye fade! If you must use your dryer, use the lowest heat setting possible. Check the garment every 10 minutes or so and remove it from the dryer as soon as it’s dry.
Conclusion
When you are looking to add a fun new flair to your tie dye projects, learning how to tie dye with bleach is the perfect opportunity to develop a new skill and take your creations to the next level. With the proper precautions and a few supplies you probably already have lying around the house, you can create one-of-a-kind designs and give old apparel and accessories a brand-new look. This project is great for teens and adults, but it’s also easy enough for younger kids — as long as you provide adequate supervision.
If you need wholesale tees or hoodies to bleach tie dye, check out the complete collection right here at The Adair Group. We have everything you need to let your creativity shine!
Image Credits
Pichit Tongma/Shutterstock.com
HstrongART/Shutterstock.com
SeventyFour/Shutterstock.com
AmaPhoto/Shutterstock.com
psy dye/Shutterstock.com

Popular Posts
- Birthday T-Shirts Are Easy and Fun!
What better day to talk about birthday t-shirts than on your birthday?! Today is MY birthday and I love thinking...
- The 5 Most Popular T-Shirt Colors Are....
Being in the t-shirt, business we get asked this question all the time. What are the most popular t-shirt colors? No...
- What is a Lift Gate Delivery Service?
When you order bulk t-shirts online, your shipping charges are calculated using the weight of your shipment and your d...
Categories
- All Things Adair
- Branded Apparel
- Buying Guide
- Celebrate Holidays With T's
- Clothing Maintenance
- Colors
- Creative T-Shirt Ideas
- DIY
- Fabrics
- Fruit of the Loom
- Hats
- Helping the Community
- History of T-Shirts
- Learn About Our Products
- Matching T-shirts
- Polos
- Scrubs
- Style
- Sweatshirts
- T-Shirts in Sporting Events
- Team T-shirts
- The 411 on the T-Shirt Business
- Tie Dye
- Uncategorized
- Underwear
- Wholesale Apparel