How to Use a Heat Press Machine with Blank Clothing Pieces
Investing in a heat press makes it way easier to customize bulk t-shirts with vinyl. You might think you don’t need one of these machines if you already have an iron, but you should reconsider. A regular iron gets the job done, but using one is more difficult and yields inconsistent results. You need a heat press when you want to decorate tees, hoodies, etc. and have them turn out flawless every time. We promise that once you use one, you’ll wonder how you ever lived without one of these handy machines!
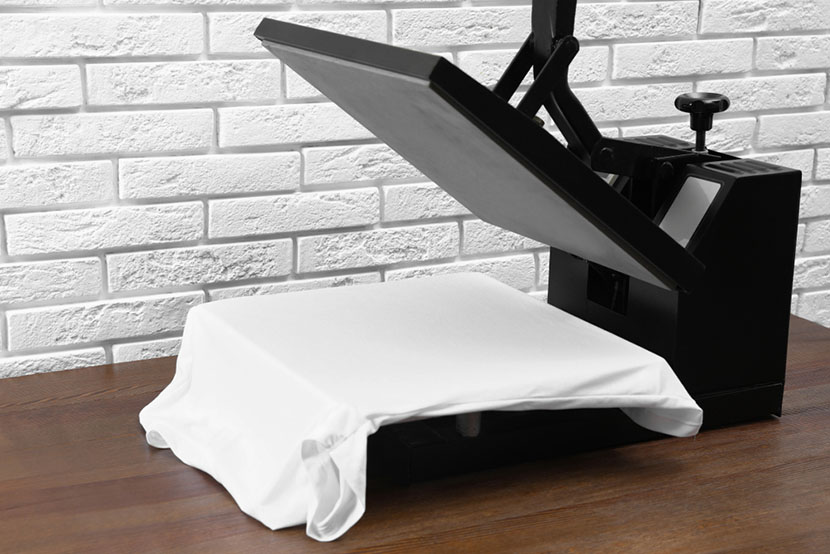
Source: New Africa/Shutterstock.com
If you’re thinking about taking the plunge and investing in this piece of equipment for yourself, you’re probably wondering how to use a heat press machine. If so, you’re in the right place. In this post, we’ll be sharing some advice regarding how to use a heat press machine with blank clothing pieces. Let’s go!
We Have the White T-Shirts You Need for Your Next Project!
What Is a Heat Press Machine?
A heat machine is a device used to apply pressure and heat to various surfaces for a specific amount of time. Most are used with fabric, but there are also specialty heat presses for hats, mugs and more. When shopping, you will need to choose between a manual press and an automatic one. Manual presses give you full control over the time and temperature, while automatic presses remain closed at the specified temperature for the amount of time you set. Each has its own benefits, so the decision largely depends on personal preference. Learn more about how to choose a heat press machine to make the best decision possible.
Using Your Heat Press to Customize Blank Apparel
Whether you’re working with wholesale hats, hooded sweatshirts or t-shirts, the process for applying designs with a heat press is roughly the same.
Step One: Choose Your Materials
Select a garment or accessory to customize. Many fabrics are appropriate for this customization method, but beginners should avoid synthetics, like vinyl, as well as waterproof fabrics. Cotton, polyester and cotton/polyester blends work best. Pre-wash the item and dry completely.
Use heat transfer vinyl (HTV), not regular vinyl. It’s designed specifically to adhere to clothing. HTV comes in a rainbow of colors, and there are even options like glittery and flocked vinyl.
Step Two: Select and Cut Your Design
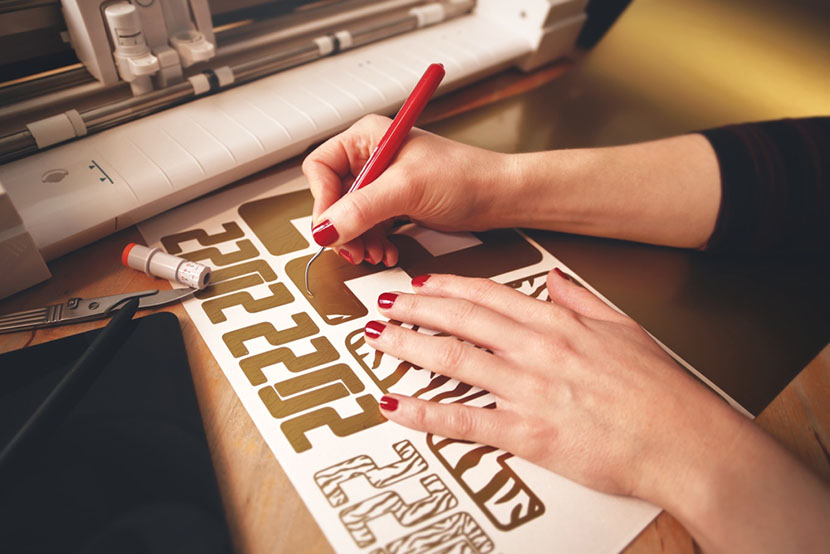
Source: R_Boe/Shutterstock.com
Using your vinyl cutter’s software, select a design and adjust it to an appropriate size. You can also create your own design or upload one from an outside source. When you’re ready, send it to your cutter like any other design.
Weed the design and trim away any excess vinyl to make it a manageable size.
Step Three: Preheat Your Heat Press
Set your press to the appropriate temperature and give it some time to warm up while it is open. If you’re unsure what temperature to use, check the machine’s manual or look the information up online.
Step Four: Set the Time and Pressure
Adjust the gauge on your press to the appropriate pressure setting. You can determine this by checking the manual, reading the instructions that came with your vinyl or doing a bit of online research. Most fabrics require medium pressure, but this varies.
Set the timer. Typically, heat transfer vinyl needs to be pressed for ~15 seconds. Again, do your homework to make sure you set the correct amount of time.
Step Five: Place Your Design and Press
Place your garment on the heat press, pulling it tight so there aren’t any wrinkles. Align it carefully to make placing the design easier. If desired, pre-press it to remove any wrinkles.
Carefully put the cut vinyl design on the shirt with the adhesive side down. Take your time to avoid injuries and get the design lined up just right. Consider laying a Teflon sheet over the design to keep the vinyl from sticking to the press’s top plate.
Shop Our Wholesale Hats Collection
Once everything is arranged to your liking, pull the heat press machine’s handle down until it locks in place. The timer will start counting down and let you know it’s time to reopen the press. Let the vinyl cool for a few moments before removing the Teflon sheet.
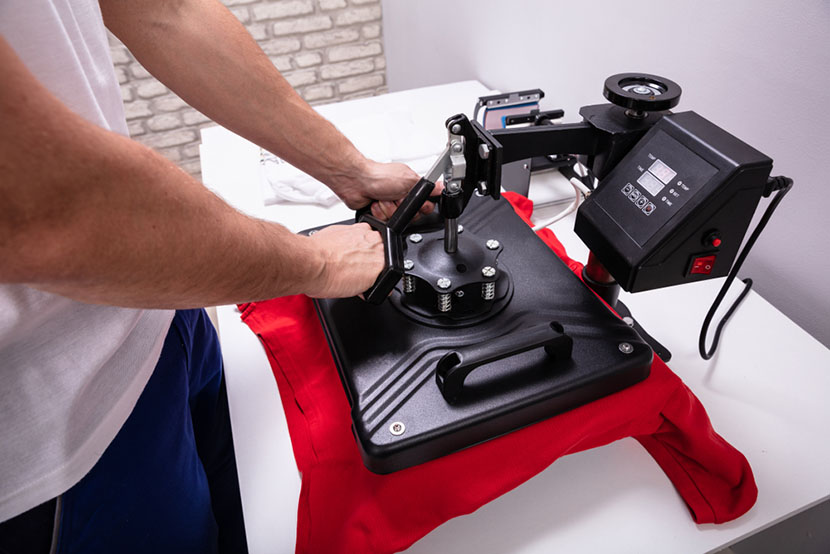
Source: Andrey_Popov/Shutterstock.com
Remove the clothing from the press, give it a few more minutes to cool and then peel off the backing. Avoid washing for at least 24 hours to give the adhesive time to set.
Conclusion
It takes some practice, but you can decorate a white t-shirt or virtually any other type of garment using HTV and a heat press machine. Start today and you’ll be a pro in no time!

Popular Posts
- Birthday T-Shirts Are Easy and Fun!
What better day to talk about birthday t-shirts than on your birthday?! Today is MY birthday and I love thinking...
- The 5 Most Popular T-Shirt Colors Are....
Being in the t-shirt, business we get asked this question all the time. What are the most popular t-shirt colors? No...
- What is a Lift Gate Delivery Service?
When you order bulk t-shirts online, your shipping charges are calculated using the weight of your shipment and your d...
Categories
- All Things Adair
- Branded Apparel
- Buying Guide
- Celebrate Holidays With T's
- Clothing Maintenance
- Colors
- Creative T-Shirt Ideas
- DIY
- Fabrics
- Fruit of the Loom
- Hats
- Helping the Community
- History of T-Shirts
- Learn About Our Products
- Matching T-shirts
- Polos
- Scrubs
- Style
- Sweatshirts
- T-Shirts in Sporting Events
- Team T-shirts
- The 411 on the T-Shirt Business
- Tie Dye
- Uncategorized
- Underwear
- Wholesale Apparel