How to Print a Picture on a Shirt – The How-to Guide

Whether you are customizing blank t-shirts for personal use, personalizing wholesale hoodies for your business or working on any other type of apparel decorating project, there are all sorts of options. You can tie-dye light-colored fabrics to give them a vibrant new look, add words or designs cut from heat transfer vinyl or try your hand at screen printing just about any type of design you can imagine. One especially fun project, though, is adding pictures to shirts.
When it comes to the options for adding pictures to shirts, the sky’s the limit. You could add an old family photo when you’re doing some t-shirt decorating for a family reunion, add a graphic, such as a business logo, or even add your own artwork. With a bit of creativity and patience, it’s possible to put just about any type of image or design you can think of on a shirt. When working with photographs and many other types of images, one of the easiest methods is to use iron-on transfer paper. Available for both inkjet and laser printers, iron-on transfer paper allows you to take virtually any design and add it to a t-shirt, sweatshirt, hoodie or any other type of shirt in a matter of minutes.
Blank T-Shirts Are Great for Customization of Any Kind
Ready to get started? Keep reading to learn how to print a picture on a shirt!
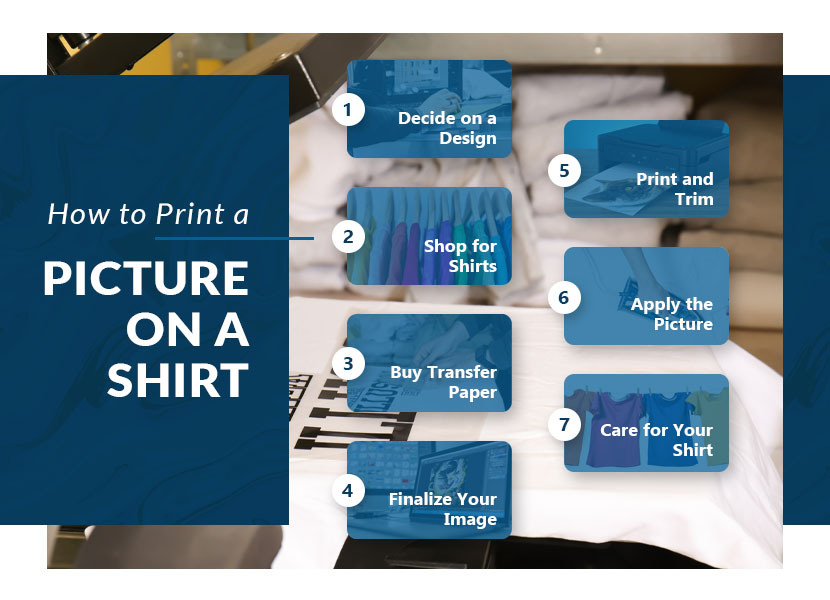
Decide on a Design
The first step when you want to add a picture to a shirt is to, of course, decide what picture you’d like to use. While you may already have an idea in mind, it’s important to note that some images don’t work as well for this project as others.
To produce a high-quality shirt, you’ll need to start with a high-quality design. Images that are small, blurry or pixelated won’t yield the professional-looking result you’re hoping for. Instead, you need to use a photo, graphic or another image that is crisp and clear with details that are sharp and don’t get lost in the background. It’s also important to choose an image large enough for your project. If you try to digitally enlarge a small graphic to make it fit properly on a t-shirt, it will end up looking pixelated or blurry.
If you are creating designs specifically to use on shirts, there are several important design considerations in creating t-shirt artwork. It may seem simple, but the process involves a lot more than coming up with a pretty picture to put on a shirt. Before you dive in, spend some time learning about design, especially if you are hoping to sell your creations.
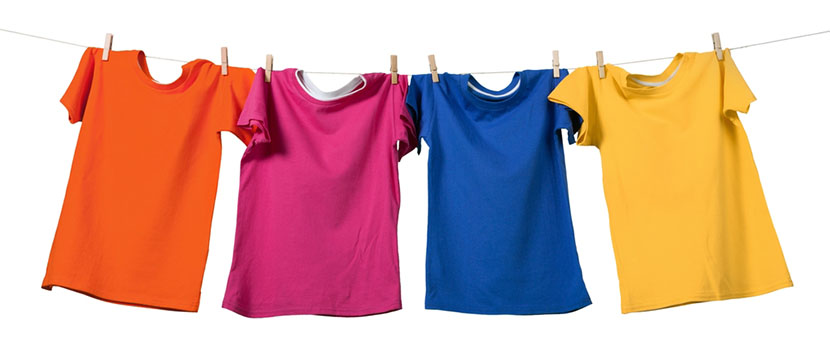
Shop for Shirts
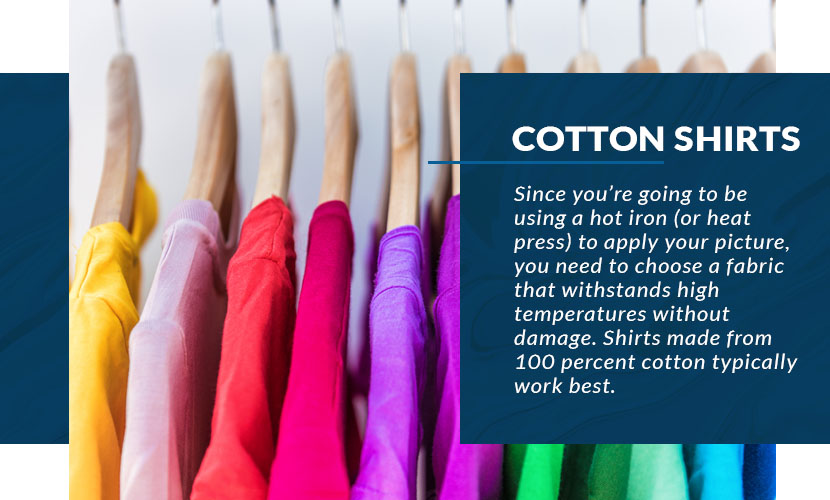
When you are in the market for shirts to customize, there are a lot of options. Since you’re going to be using a hot iron (or heat press) to apply your picture, you need to choose a fabric that withstands high temperatures without damage. Shirts made from 100 percent cotton typically work best. Cotton-polyester blends are appropriate, too. In most cases, though, you want to avoid shirts made from 100 percent polyester. If you’re thinking about printing on other types of fabric, spend some time doing research on the application of transfer printing before you get started.
The next most important consideration is color. You need to choose a color that complements your design, of course, but color is also an important consideration because it impacts what type of transfer paper you’ll need to use. In general, darker images tend to work best on light-colored shirts, while lighter images work best on darker shirts. If you are going with shirts in anything other than basic black or white, make sure the colors in your chosen image won’t clash or be difficult to see or read against the shirt’s color.
After purchasing the shirts you plan on customizing, pre-wash them according to the laundering instructions on the tag. Do not use liquid fabric softener or dryer sheets. Pre-washing removes any residue that may be left over from the manufacturing process. It also pre-shrinks the shirts. This is important because the image will likely be destroyed if the shirt shrinks after it is applied rather than before.
Wholesale Hoodies Are Easy to Customize and They’re Affordable
Buy Transfer Paper
The next thing you’ll need is iron-on transfer paper, which can be purchased at any craft or office supply store. It’s also widely available online. It’s important to note, though, that not all transfer paper is the same. There are specific products for inkjet and laser printers, as well as products that differ based on their intended use. If you are printing your shirts at home using your home printer, you’ll likely need inkjet iron-on transfer paper. If you are using a laser printer, though, you’ll need to pick up laser transfer paper. Do not try using inkjet paper in a laser printer. Doing so is dangerous and could result in injury, damage to your printer or, at the very least, poor print quality.
Now that you’ve determined whether you need inkjet or laser transfer paper, you need to decide whether you need paper for dark or light shirts. Iron-on transfer paper for light shirts is thin, transparent and has a clear background. It works best on white and pastel-colored shirts. If used on darker shirts, the image is typically very difficult to see. When printing on this type of paper, any white areas in your design come out transparent. If you are printing an image with a lot of white areas–such as a black and white photo–on anything other than a white shirt, you may want to consider using transfer paper for dark shirts instead to ensure the white areas are preserved.
Transfer paper for dark shirts is, as the name indicates, intended for darker colored shirts. But as mentioned above, it works well for printing images with white areas on lighter colored shirts, too. It is substantially thicker than the paper for light shirts, and it has a white background instead of being transparent. While this ensures white areas will still be white in your finished design, it also means any background areas that aren’t carefully trimmed away will be white on your shirt, too. This can be tricky when working with lettering or designs with complex shapes.
Read the packaging or online product description carefully prior to making a purchase. Not all products are intended for use with all types of fabrics. Some may also require the use of a heat press rather than a household iron. Pay close attention to the product specifications, instructions and recommendations before buying to ensure the product you ultimately purchase will meet your needs.
Finalize Your Image
You’ve chosen a design and purchased your shirts and transfer paper. You’re still not quite ready to print the design, though. First, you need to take a few steps to ensure the image is ready. Having a high-quality image is an excellent start, but there are still a few tweaks that need to be made to ensure it looks flawless on your shirt.
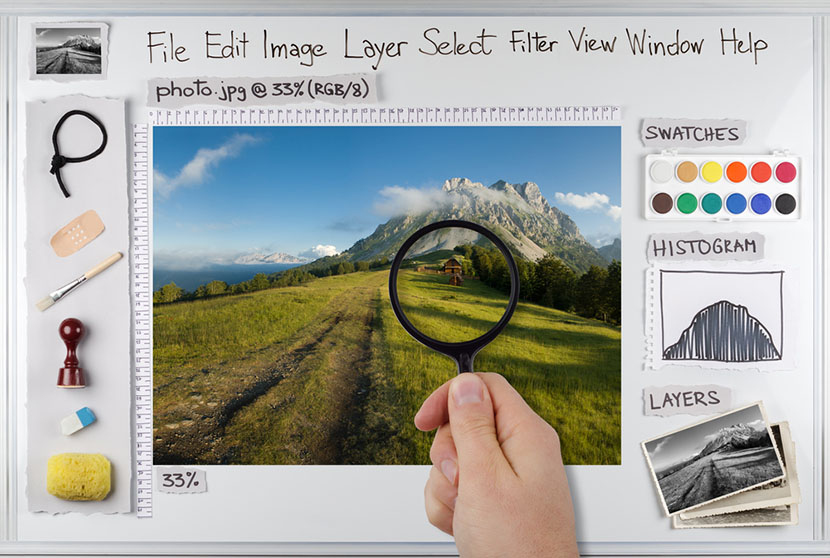
Open the image in your favorite photo editing software. Photoshop is great, of course, but you don’t need anything that fancy. As long as you have a program that’s capable of basic image editing, you’re good to go.
First, crop the image to remove as much of the background as possible. If there are any elements in the design you don’t want to appear on the finished shirt, remove them now. Erasing things using photo editing software is generally much easier and less time-consuming than trying to do so by hand after printing!
If you are using iron-on transfer paper for light-colored shirts, you also need to mirror the image. This is especially important if your design has any words or lettering on it. Your photo editing software should have a “Mirror,” “Flip Image Horizontally” or “Reverse” command that allows you to create a mirror image in seconds. This step is not necessary if you are using iron-on transfer paper for dark shirts.
Print and Trim
Print your image out on regular printer paper to check the quality and ensure it prints at the appropriate size. Doing a test print on regular paper can save you a lot of frustration and keep you from wasting your iron-on transfer paper, so we highly recommend this step.
When you’re ready to create your transfer, refer to the instructions that came with your iron-on transfer paper to determine what printer settings to use to ensure the best results. Adjust your settings accordingly, load up your paper and print.
Once the print is complete and, if applicable, the ink has had time to dry, cut out the picture. Using a craft knife instead of regular scissors is your best bet when it comes to getting clean edges–especially on complex designs. Keep in mind that any excess transfer paper left behind when trimming will be transferred to the shirt.
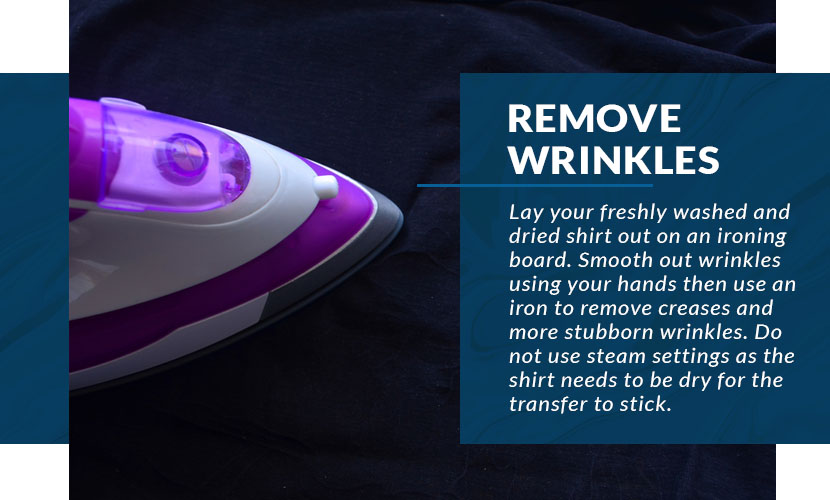
Apply the Picture
Lay your freshly washed and dried shirt out on an ironing board or heat-resistant table. Smooth out any wrinkles using your hands and then use an iron or heat press to remove creases and more stubborn wrinkles. Do not use steam settings as the shirt needs to be dry for the transfer to stick.
Carefully remove the backing paper from the transfer and then position the picture on the shirt. If you are using transfer paper for light-colored shirts, apply the image face down. If using transfer paper for dark-colored shirts, apply it face up. If you are unsure of how to position the design, refer to the instructions that came with the transfer paper for further guidance.
If the backing paper you peeled off is made of paper, use it to cover the transfer. If it’s made from plastic, place a piece of parchment paper or a kitchen towel over the transfer instead.
After ensuring your iron is set to the right temperature based on the instructions included with your iron-on transfer paper, apply the iron to the design. Start in the middle and work your way outward using a circular motion. Apply some pressure, but don’t press down too hard. Continue ironing for the amount of time indicated in the instructions–usually three or four minutes.
Alternatively, you may be able to use a heat press instead of a household iron. Check your transfer paper’s instructions for additional information.
Allow the transfer to cool completely and then carefully start peeling up one corner of the transfer paper, towel or parchment paper. Take a peek to make sure the design isn’t also peeling up. If it is, repeat the ironing step. If the design is staying in place on the shirt, carefully peel up the rest of the paper or towel to reveal the entire image.
Care for Your Printed Apparel
Once you’ve created an awesome printed shirt, you want to take steps to ensure it lasts as long as possible. The best way to do this is by laundering it appropriately. Printed shirts should always be turned inside-out prior to washing, and they should never be dry cleaned. Instead of washing in hot water, use cold or warm water. Avoid bleach, fabric softener and harsh detergent.
When it comes to drying, it’s best to hang your custom shirts or lay them flat rather than tossing them in the dryer. The higher temperature in even household dryers could damage the image. If you need to dry your new shirt in the dryer, use the lowest possible heat setting. When ironing, don’t iron directly on the transfer.
The Bottom Line
Printing a picture on a shirt is easy thanks to printable iron-on transfer paper. This method works well for customizing t-shirts as well as wholesale crewneck sweatshirts and other garments. Whether you are making just one shirt or creating several, the steps above will allow you to create high-quality shirts that are sure to turn heads for all of the right reasons!

Popular Posts
- Birthday T-Shirts Are Easy and Fun!
What better day to talk about birthday t-shirts than on your birthday?! Today is MY birthday and I love thinking...
- The 5 Most Popular T-Shirt Colors Are....
Being in the t-shirt, business we get asked this question all the time. What are the most popular t-shirt colors? No...
- What is a Lift Gate Delivery Service?
When you order bulk t-shirts online, your shipping charges are calculated using the weight of your shipment and your d...
Categories
- All Things Adair
- Branded Apparel
- Buying Guide
- Celebrate Holidays With T's
- Clothing Maintenance
- Colors
- Creative T-Shirt Ideas
- DIY
- Fabrics
- Fruit of the Loom
- Hats
- Helping the Community
- History of T-Shirts
- Learn About Our Products
- Matching T-shirts
- Polos
- Scrubs
- Style
- Sweatshirts
- T-Shirts in Sporting Events
- Team T-shirts
- The 411 on the T-Shirt Business
- Tie Dye
- Uncategorized
- Underwear
- Wholesale Apparel