Get Crafty: How to Tie-Dye a Sweatshirt
When it comes to tie-dye, t-shirts tend to get all the love. They certainly aren’t the only garments that can be customized in this manner, though. Whether you are looking for something colorful to help you stay warm in a chilly air-conditioned office or you want something to relax in on cool summer knits, tie-dyeing a sweatshirt is a fun and easy project.

Even if you don’t have any tie-dyeing experience, you can create beautiful one-of-a-kind designs that you’ll be proud to show off. Let’s get started!
Gather Your Supplies
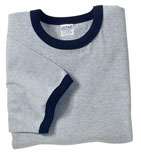
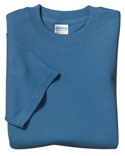
Since tie-dyeing is a fairly simple project, it doesn’t require a lot of supplies. You’ll – of course – need a white sweatshirt and fabric dye. You’ll also need a dye fixer, a bucket, rubber gloves, rubber bands, squirt bottles, and a plastic bag. Purchasing a tie-dye kit – like this one from Tulip – is the best way to get the majority of your supplies all in one place.
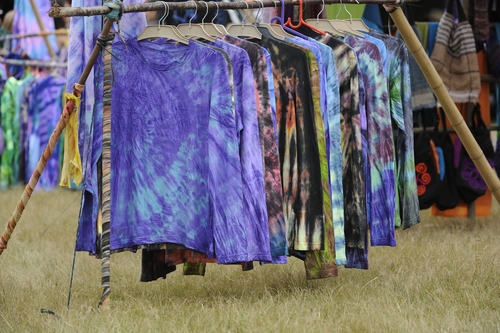
To save some money and enable yourself to design more than one creation, consider buying bulk sweatshirts. Since the cost is much lower than that of retail sweatshirts, buying in bulk enables you to make as many shirts as your heart desires. Plus, you won’t feel bad if one doesn’t turn out quite as you had hoped. Whether you’re making tie-dye hoodies or regular crewneck sweaters, there are wholesale options to meet your needs.
Prepare Your Shirt
To ensure the best results, you need to properly prepare your sweatshirt. First, wash it to remove any dirt and oils. While your sweatshirt is in the washer, prepare a bucket of dye fixer and follow the instructions to create the appropriate solution.
When your shirt is done washing, do not dry it. Instead, place it in the bucket of fixer and let it soak. Check the fixer’s instructions to find out how long to let your sweatshirt soak.
Once the time is up, remove the sweatshirt from the fixer, wring it out, and lay it flat on a protected surface (one that you don’t mind staining).
Choose a Design
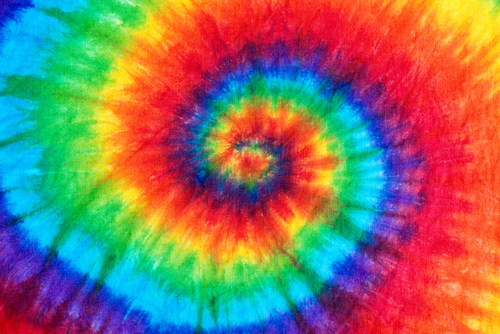
When it comes to tie-dye designs, your imagination is truly the only limit. While some designs – like spirals – are more common than others, there are countless ways, patterns and styles for tie-dyeing. Figure out how you would like to tie-dye your sweatshirt, then twist, twirl, crumple, or otherwise manipulate the fabric into your chosen design and secure with rubber bands.
Not so sure about following a specific design? That’s totally fine! You can also section off your hoodie and place rubber bands at random to create a look that is uniquely your own. There’s really no wrong way to tie-dye a sweatshirt, so feel free to get creative.
Apply Dye
At this point, it’s time to start adding the dye. Mix up each color in a squirt bottle according to the product’s instructions, then begin applying to each section. You can apply a different color to each section, apply colors at random all over the entire shirt, or apply color per the instructions to create a specific design. It’s up to you! Regardless of how you choose to apply the dye, though, make sure you use enough to fully saturate the fabric. Sweatshirts are heavy, so you’ll need to use a significant amount.
When you are finished applying dye to one side, flip your shirt over and add dye to the other side. For a cohesive look, use the same technique you used on the other side. If you’d rather switch things up a bit, try a different technique. When you are done, place your sweatshirt inside a plastic bag. Let sit for at least two hours (overnight is better!).
Rinse and Enjoy
After the dye has had plenty of time to set, it’s time to rinse. First, carefully remove all of the rubber bands. Make sure you don’t miss any! Then, rinse your sweatshirt under cold water in a large sink. Continue rinsing until the water runs clear. Be sure to use cold water to help deepen the color and prevent it from bleeding.
Wash your sweatshirt by itself in cold water with regular detergent. Avoid using harsh detergents as they may remove color if it hasn’t fully set. After a trip through the dryer or some time on the clothesline, your new tie dye sweatshirt will be ready for wear.
Finally, take the time to learn how to wash tie-dye shirts so you can enjoy your new creation for years to come!

Popular Posts
- Birthday T-Shirts Are Easy and Fun!
What better day to talk about birthday t-shirts than on your birthday?! Today is MY birthday and I love thinking...
- The 5 Most Popular T-Shirt Colors Are....
Being in the t-shirt, business we get asked this question all the time. What are the most popular t-shirt colors? No...
- What is a Lift Gate Delivery Service?
When you order bulk t-shirts online, your shipping charges are calculated using the weight of your shipment and your d...
Categories
- All Things Adair
- Branded Apparel
- Buying Guide
- Celebrate Holidays With T's
- Clothing Maintenance
- Colors
- Creative T-Shirt Ideas
- DIY
- Fabrics
- Fruit of the Loom
- Hats
- Helping the Community
- History of T-Shirts
- Learn About Our Products
- Matching T-shirts
- Polos
- Scrubs
- Style
- Sweatshirts
- T-Shirts in Sporting Events
- Team T-shirts
- The 411 on the T-Shirt Business
- Tie Dye
- Uncategorized
- Underwear
- Wholesale Apparel