10 Pro Tips for Embroidering on Blank T Shirts and Hoodies
Do you want to spice up a plain t shirt or hoodie with a fun design? Perhaps you want to show off your team or business logo or help to advertise an event or fundraiser.
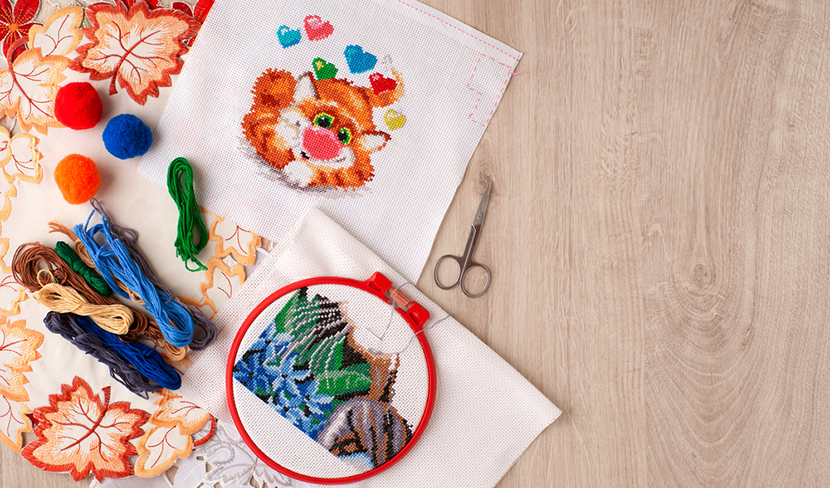
It is possible to do all of that and more if you decide to embroider a design onto a blank t shirt or hoodie. It isn’t as hard as it may seem, especially if you start with these tips for embroidering on a blank t shirt or hoodie to add your individualized touch.
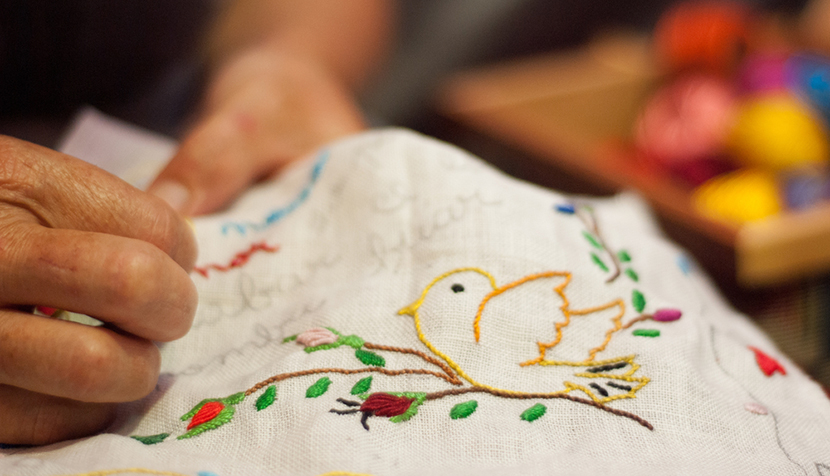
Whether you are new to embroidery or an experienced seamstress, these tips can help. These suggestions are relevant, whether you plan to use a machine or want to do all the work by hand.
The following tips can help you save time and money, but can also provide better results.

Choose the Right T Shirt or Hoodie
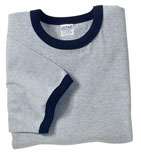
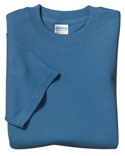
The quality of the finished product will only be as good as the quality of the materials you use. Purchase a top-ranked brand like Gildan shirts, for example, to help make your embroidery stand out.
Consider spending a bit extra, so the completed garment has a nice look and feel to it. You will find that if you choose a blank t shirt or hoodie, it will be easier to maintain your focus on exactly what you want to embroider. You can more easily visualize the embroidery piece without any distractions, such as other designs or color additions.
Embroidered designs tend to look better and last longer if you use thicker cotton blends, so make sure you read the tags before making your purchase. The thicker and heavier fabric is more durable and holds up better to the weight of the embroidered design.
The right color makes a difference in how your embroidery will show. If you already have an embroidery design in mind, choose the colors of the pattern that complements the color of the shirt or hoodie you use. For example, red goes well with grey or pink, so if your hoodie is grey, consider a pattern that uses a lot of reds and pinks.
Bring a color printout of the design with you to the store to help you make the right decision. You might even want to bring the embroidery thread as a mismatch of the shirt, as that thread can ruin an otherwise lovely piece.

Test Your Project First
If you have a spare shirt laying around, you can put it to use for practice. Try to use one made of the same or similar fabric as the one for your actual project.
Using a test piece first gives you a better idea as to how your project in the end. You will also learn which techniques will work and which ones won’t.
You don’t have to complete the whole project on the test fabric, but trying out the stitches you will use, as well as the backing, will help ensure your actual project will turn out the way you expect it to. This can save you a lot of frustration. For example, you may find you need a different needle, a different hoop or a different stabilizing material on a practice t shirt or hoodie.

Pre-Wash the T Shirt or Hoodie
Even if the clothing says that it is pre-shrunk or that it won’t shrink at all, that often is not necessarily true. The fabric usually shrinks a bit, despite the manufacturer’s claims.
Even if it doesn’t shrink, the dimensions may shift just a bit, which can alter the embroidery when washed. By rewashing it before you embroider on it, you ensure a crisp, clean, centered pattern, as it appears immediately after you finish the embroidery.
Washing it beforehand will also get rid of any excess dye on the fabric that might bleed into your design after that first wash. Bright-colored fabrics will wash out into other areas of the material, ruining the beautiful colors you so carefully chose for your embroidery.
Also take extra care whenever you wash the finished shirt or hoodie with other clothes to avoid picking up the extra dyes in the water and changing the way your color scheme looks. Embroidered garments should always be turned inside out before washing to preserve the work and time that has been invested in embellishing the piece.

Choose the Right Design
Many designs, whether you buy them in a book or you got it from an embroidery program or even online, will have a template. Use the template during the preparation phase to determine placement on the shirt.
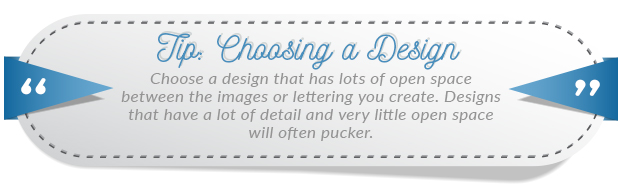
Don’t use a design that has lots of intricate patterns. Choose one that has lots of open space between the images or lettering you create. Designs that have a lot of detail and very little open space will often pucker.
The orientation of the design matters. Horizontal designs look better and pucker less than vertical-shaped designs.
Choose a medium-size design, rather than one that fills the entire front or back. Embroidery designs that take up a large area of the shirt, even with a lot of open areas, may also pucker in some places after a few washes.

Properly Position the Design
Once it is washed and thoroughly dried, you want to position the design again. Using your template and a ruler, review the placement to ensure that, after washing, it remains straight and properly centered on the front of the t shirt or hoodie.
Use a washable fabric pencil when marking the material, so once the embroidering is complete, the marks don’t remain.
Remember to stand back a little bit so you can see the placement of the pattern from a distance when determining if the design is straight and centered. If you can place it on a hanger and hang it somewhere, it will be at eye level; you can get a much better visual than staring at it up close.
Once you have finalized the location, remove the template and place the design carefully in the location you chose. You can usually iron-on the pattern, transferring the whole design directly on the fabric so you can stitch it easily.

Stabilizing Material Is Critical
A stabilizing fabric is vital, so the embroidered design won’t pucker or pull on the fabric as you stitch or once the design is complete and has been washed a few times. It also prevents the fabric from stretching out of shape and keeps the embrodery in place.
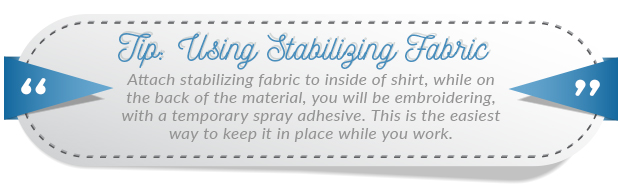
You can attach the stabilizing fabric to the inside of the shirt, while on the back of the material, you will be embroidering, with a temporary spray adhesive that will come out in the wash. This is the easiest way to keep it in place while you work.
There are several types of stabilizing materials, and they come in different thicknesses as well. Usually, the type you choose will be dependent on the type of embroidery you are doing, but sometimes it might just be a personal preference. Experimenting with different ones will give you an idea of which fits your style and method of working.

Keep Excess Material Out of Your Way
The trickiest thing while embroidering on a t shirt or hoodie is trying to work while you have all that excess shirt material around. A straightforward way to keep it away from your work area is to roll up that extra t shirt or hoodie material and use clips to keep it nice and neat. Hair clips work great for this.
If using a machine, don’t let the material get bunched up while you are working. You risk starting all over again or ruining the shirt or hoodie.
Keeping your hands on the material will help you maintain control on what the machine is doing. You can more easily keep the extra fabric out of reach, so it doesn’t get pulled in accidentally.

Make Sure to Use the Right Needle
If you use too large a needle while embroidering on your t shirt or hoodie, the larger holes the needle makes in the fabric can cause the edges of the embroidered area to pull and stretch the material over time. This can happen even when using the proper stabilizing material on the back of the embroidered area.
Always use the smallest needle possible that will still allow you to get the job done. This is important whether you are embroidering by hand or by machine. Once you have embroidered a t shirt or hoodie a few times using different fabrics, different threads and assorted designs, you will have a much better idea of what size needles will work for you best depending on the application.
If you have a water-soluble topper available, use it, especially if you are embroidering on a knit shirt, fleece or terry cloth. This provides you with a smoother surface that will make your embroidery stand out better with cleaner lines and keep your stitches from sinking into the piece.

Choose Proper Hoop Size
The embroidery hoop is meant to keep the fabric stable and pulled tight enough to make sure the embroiderer properly and consistently places the stitches. Whether you are embroidering by hand or by machine, using the correct type and size of embroidery hoop is crucial. Position it correctly, as well as connect the front and back pieces securely, so they don’t come loose while working on your design.
Manufacturers design machine embroidery hoops differently than those you use when you embroider by hand. The hoops must be large enough to allow you to embroider the entire design without taking it off and repositioning it. If your hoops are too small, the repositioning usually results in puckering or damage to the stitches, unless you are extremely careful.
There are many different types of embroidery hoops for machine embroidery, as well as hand embroidery. If you are new to embroidery or only have experience with one type, consider purchasing several different kinds.
Try them out until you find a type that is the most comfortable for you to use. Once you find a favorite, you can invest in a variety of sizes and shapes to use for different projects.

Make it Look Tidy
Once you have finished the embroidery on your t shirt or hoodie, you can clean up the excess threads, as well as cut away any stabilizing material that was used on the back. Leave about 1/4″ of stabilizing material all the way around the design, so it still does its job of stabilizing the stitches you created for the design.
If you trim too much, the stitches will eventually weaken after numerous hours of wear and washing, unraveling all your hard work.
If you leave too much stabilizing material inside the shirt, though, it can make the front of the t shirt or hoodie feel stiff and uncomfortable when wearing it. You can also risk causing the design to pucker after only a few washes. Too much material can also give the shirt or hoodie a bulkier look, detracting from the aesthetics of wearing the item and making the wearer look awkward.
WHAT TO DO WITH YOUR CREATION
An embroidered t shirt or hoodie can make an excellent gift for the holidays, birthdays or just about any occasion. You can contribute an embroidered shirt to a cause you are passionate about as a symbol of your support.
Embroidered shirts also make great uniforms, either for a business or a sports team.
You can market yourself or your brand with a tastefully embroidered piece, too.
NOW YOU ARE READY TO CUSTOMIZE YOUR T SHIRT OR HOODIE
Embroidering a t shirt or hoodie to make it unique is not only fun but very satisfying. It can be gratifying to wear something you spent the time and effort to personalize, making it your own. It can be even more rewarding to see someone else wearing your work.
Embroidery is a great way to show off your skills. Creating something unique and well-made makes you feel good about yourself and provides you with a sense of satisfaction.

Popular Posts
- Birthday T-Shirts Are Easy and Fun!
What better day to talk about birthday t-shirts than on your birthday?! Today is MY birthday and I love thinking...
- The 5 Most Popular T-Shirt Colors Are....
Being in the t-shirt, business we get asked this question all the time. What are the most popular t-shirt colors? No...
- What is a Lift Gate Delivery Service?
When you order bulk t-shirts online, your shipping charges are calculated using the weight of your shipment and your d...
Categories
- All Things Adair
- Branded Apparel
- Buying Guide
- Celebrate Holidays With T's
- Clothing Maintenance
- Colors
- Creative T-Shirt Ideas
- DIY
- Fabrics
- Fruit of the Loom
- Hats
- Helping the Community
- History of T-Shirts
- Learn About Our Products
- Matching T-shirts
- Polos
- Scrubs
- Style
- Sweatshirts
- T-Shirts in Sporting Events
- Team T-shirts
- The 411 on the T-Shirt Business
- Tie Dye
- Uncategorized
- Underwear
- Wholesale Apparel