How to Screen Print T-Shirts at Home
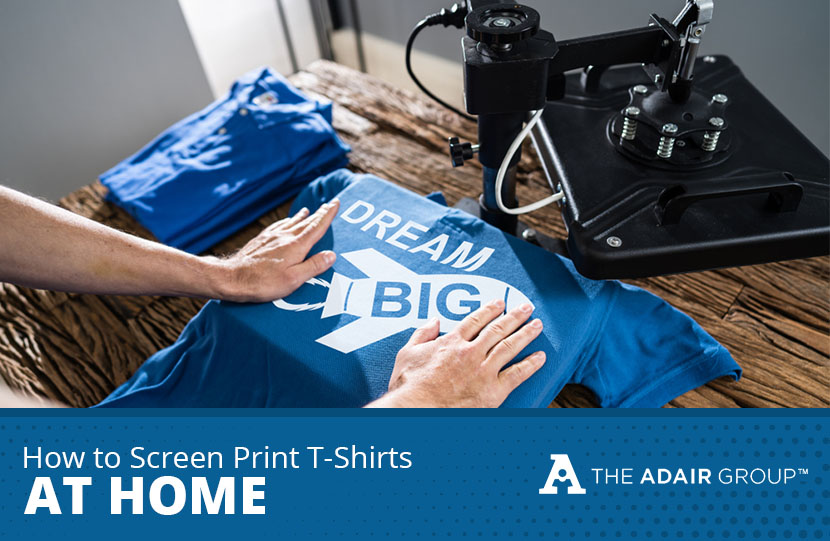
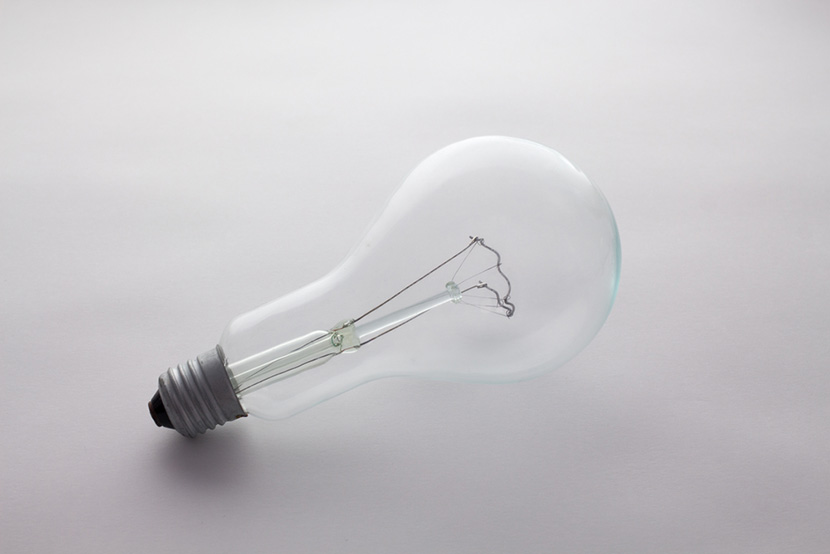
One-of-a-kind gifts. Uniforms for your employees or team. Custom apparel for an organization. A new business venture. There are all sorts of things you can make once you’ve mastered the art of screen printing blank t-shirts. And you may be surprised to find out that the process is actually pretty simple and affordable. While you could spend a small fortune on state-of-the-art, professional-grade equipment and supplies, you can also start screen printing at home for less money than you probably think. In fact, you can get started with little more than a strong light bulb, a screen, a few pieces of glass, screen printing ink and some inexpensive t-shirts.
Screen printing originated in ancient China and Japan. However, the process experienced a revolution in the 20th century, and the modern techniques we are familiar with today were largely perfected in the 1960s. Artists like Andy Warhol embraced screen printing and turned it into an art form. Today, screen printing is widely used in the garment customization industry. This simple process makes adding designs to wholesale crewneck sweatshirts, t-shirts and a wide range of other garments fast, easy and affordable. And once you have mastered the basic technique, there is no limit to the ways in which you can express your creativity. From there, you can even learn advanced screen printing techniques to take your designs to the next level.
Screen Printing Apparel at Home? You’ll Need Blank T-Shirts!
For now, though, we’re going to be looking at the basic process for screen printing t-shirts at home using affordable and easily obtainable supplies. Ready to get started? Let’s go!
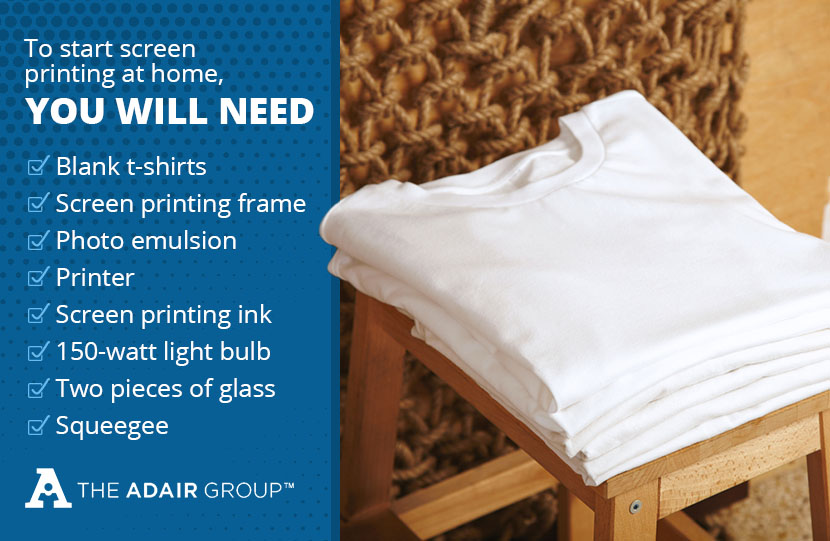
Gather Your Supplies
To start screen printing at home, you will need:
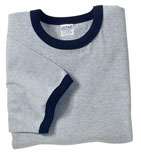
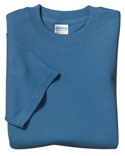
- Blank t-shirts to customize (Shirts made from 100 percent cotton or cotton/polyester blends work well. We recommend buying extras so you have plenty of shirts to practice on.)
- Screen printing frame (See below.)
- Photo emulsion
- Printer (Any inkjet or laser printer is fine.)
- Screen printing ink
- A regular 150-watt light bulb
- Two pieces of glass (Glass from dollar store picture frames works well.)
- Squeegee
When it comes to screen printing frames, you can purchase one from a supplier, or you can make one yourself using 2x2s, screws, staples, tape and 110 polyester mesh. If you would prefer to buy a frame, go with aluminum if your budget allows. Aluminum frames cost a few dollars more, but they’re better and more durable than their wood counterparts and are well worth the additional investment.
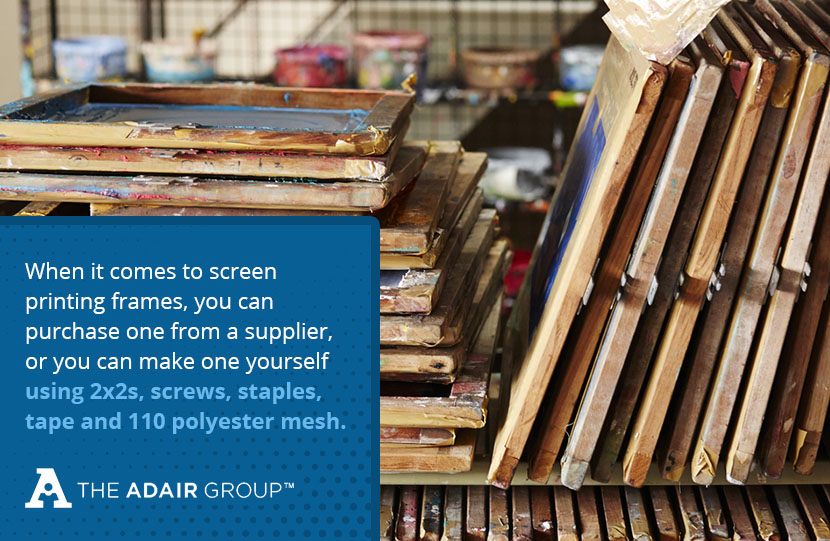
If you are taking the DIY approach, start by screwing your 2x2s together to make a square or rectangular frame. The exact size doesn’t matter, and the shape doesn’t have to be perfect. It is important, though, the frame lies flat. This project is, unfortunately, not the time to try using up those warped boards collecting dust in your garage. Once you’ve built the frame, attach the polyester using staples. The fabric needs to be pulled tight, and there shouldn’t be any wrinkles. Don’t pull it so tight the staples rip through, though. Consider folding the silk under around the edges to give it a bit of extra strength and prevent tears. Make sure the staples are flush with the wood to ensure the screen lies flat when flipped over. If it wobbles, use a hammer to drive the staples in further.
Once you’ve attached the fabric, trim away the excess. Then, apply tape over the staples on the outside of the frame. Painter’s tape is the best option, but duct tape works, too. This step ensures paint won’t drip through around the edges while you are printing. You may want to tape around the inside edges, too, for extra security.
Choose and Print Your First Design
Now that you have purchased and/or made all of the necessary supplies, you are ready to get started on your first shirt! Begin by selecting an image to use for your first design. As a beginner, we recommend you choose a simple design or shape that will only require one color. You can always create more complex designs once you’ve mastered the basic process. For now, though, it is best to keep things simple. A silhouette of something like a tree, dog, cat or car would work well for a first project.
Mastered Screen Printing on Shirts? Try Wholesale Crewneck Sweatshirts!
Next, print your chosen design on regular printer paper. Carefully cut it out using a craft knife or scissors. Make sure your edges are neat and you’ve cut away the entire background. Any paper you don’t trim away will end up being a part of your screen printed design, so take your time.
If you’d like to avoid having to cut out the image, consider purchasing printable transparency paper and using it instead of regular printer paper. Keep in mind, though, if you choose this option, the printed image needs to be completely opaque. If you hold the transparency up to a light source and can see any light through the image, it isn’t dark enough. To make it opaque enough, you may need to color over the image using a black permanent marker or print another copy and stack them together.
Prepare the Frame with Photo Emulsion
For this step, you will need access to a completely dark room. Photo emulsion reacts to light, so even a tiny sliver of light peeking in under a door can cause problems. The photo emulsion must be applied in total darkness, and it needs to be left in complete darkness to dry for up to three hours.
Photo emulsion comes in two parts that need to be mixed to “activate” it. Before you get started, carefully read the instructions on the bottle. Typically, you just need to pour the smaller bottle into the larger one, shake to mix and you’re good to go. It still never hurts to read the instructions, though, just in case the manufacturer has specific guidelines or tips for using the product.
Take your photo emulsion, squeegee and screen into a dark room. Double-check to make sure there is NO light and, if necessary, block any light coming in from under the door or around a window using a towel, blanket, curtain, etc.
Lay your screen on a flat surface and then pour a bead of photo emulsion across the top. Then, use the squeegee to spread the emulsion down to coat the entire screen. Keep the coat as thin as possible, and be sure to coat the screen on both sides. You want to make the coat as even as you can, but you also need to work quickly. Coat both sides and then immediately lay the screen down horizontally on a flat surface to dry. This will take about one to three hours, depending on how thick the emulsion is. You can speed up the process by aiming a fan set on “Low” at the screen. Remember: The screen needs to be left in total darkness to dry.
Expose the Screen
After the screen has dried completely, you are ready to transfer your design onto it. While many people do this using a lightbox, you can get the job done using a regular 150-watt light bulb.
Check the instructions on your bottle of photo emulsion to determine how long you need to expose the image. The instructions should also tell you exactly how far the light source needs to be from the screen to ensure a successful exposure.
Set your light up so it will be shining straight down onto a matte black surface, but don’t turn it on yet. Next, go cover your screen up with a towel or blanket to shield it from light and then bring it to your work area. Place the screen on the black background with the back (or non-recessed) side of the screen facing up. Remove the towel and then place the image on the screen in reverse of how you want it to eventually be printed on a t-shirt. Place one of the pieces of glass over the image to ensure it stays in place on the screen and then flip on the light. Set a timer for the appropriate exposure time (as determined by the instructions on your photo emulsion) and leave the entire set-up alone until the timer goes off.
When the time is up, take the glass and paper cutout (or transparency) off the screen. You should be able to see a faint image.
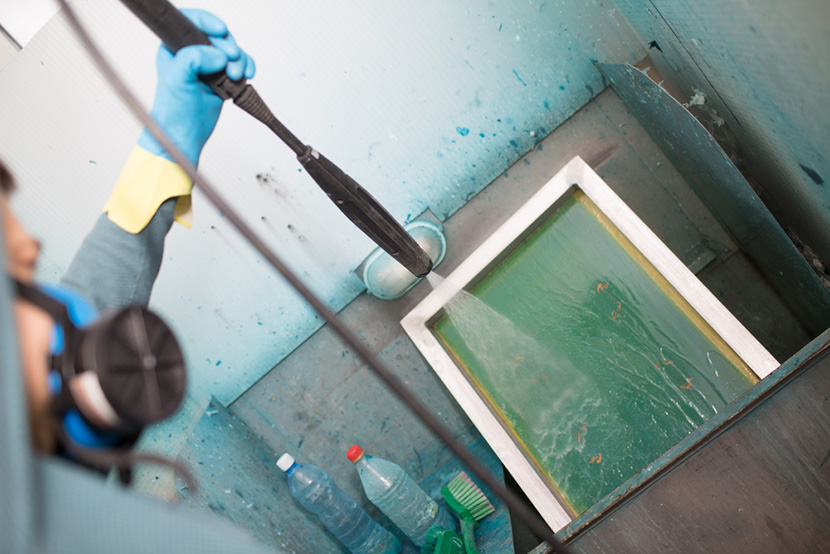
Immediately rinse the screen with lukewarm water from a showerhead or garden hose. Concentrate the stream on the area where the design is. It may take a bit of time, but, eventually, the emulsion in the area where the design was will rinse away. Keep rinsing until the entire image is clear and there is no emulsion remaining in the design area.
Congratulations! You just made your first screen. After taking a moment to admire your work, hold the screen up to a light source to see if there are any spots where light is peeking through other than in the design. If there are any pin holes or spots where the emulsion is missing, cover them with a small piece of tape. This ensures no ink will seep through in the wrong places in the next step.

Print Your Shirt
Now for the really fun part–making your first shirt! Lay a pre-washed t-shirt on a flat surface and smooth out any wrinkles. Consider ironing it if there are wrinkles or creases you cannot smooth away by hand. Next, place your screen on the shirt with the recessed side facing upward. The fabric on the screen should be resting on the fabric of the shirt. Take your time to ensure the design is exactly where you want it.
Once you’re satisfied with the position of the design, pour a bit of screen printing ink at the top of the screen above the image. Then, flood the image by dragging the paint downward over the design using a squeegee. Do not apply pressure. Once you’ve spread ink over the entire design, go over it again with a bit of pressure. This pushes the ink through the screen and onto the shirt. Always pull the squeegee in the same direction.
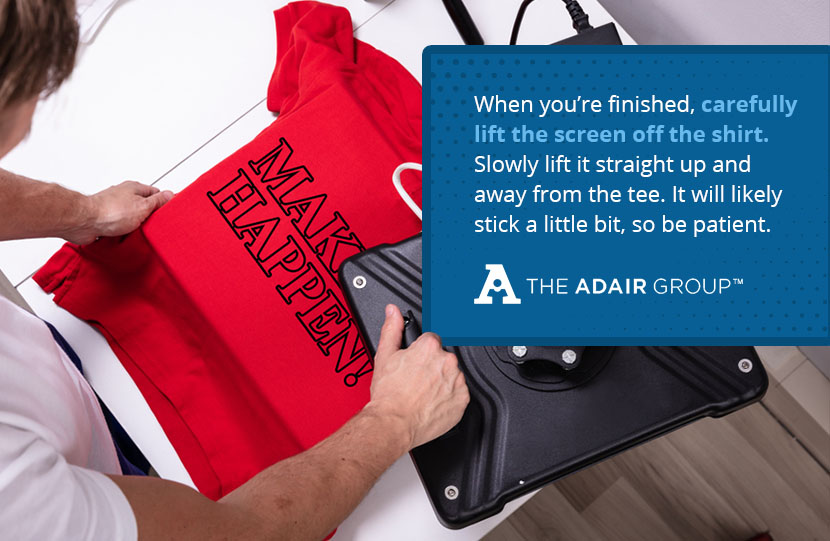
When you’re finished, carefully lift the screen off the shirt. Slowly lift it straight up and away from the tee. It will likely stick a little bit, so be patient. If you’re having trouble, consider having someone else help you by holding down the edges of the shirt while you lift the screen away. Most importantly, be patient and work carefully to avoid smudging or smearing the ink.
Hang the shirt to dry in an area where it won’t be disturbed. On average, it should only take about 20 or 30 minutes for the ink to dry. This may vary, though, depending on how thickly it is applied. Drying time may also be longer on humid or cold, wet days.
While your shirt is drying, rinse the screen using cool water. Take your time and make sure you’ve rinsed all of the ink away, especially in the design. This ensures your screen will be ready to go when you want to make another shirt with the same design.
Once the ink has dried completely, heat set it by pressing it with a dry iron (you can also learn how to print t-shirts at home with an iron if you aren’t loving the screen printing process). This makes the design permanent and ensures you will be able to wash the shirt without washing off the design.
Next Steps
Now that you understand the basics of how to screen print shirts at home, feel free to experiment with more complex designs, multiple colors and other advanced techniques. Keep in mind, like anything else, screen printing gets easier with practice and patience. If your first attempts don’t turn out quite as you had hoped, try again. Experiment with how much pressure you apply when adding ink, how thick of an emulsion coating you create, etc. With practice and experimentation, you will find a technique that works perfectly for you, and you’ll be on your way to creating amazing screen printed t-shirts for any occasion.
Image Credits
Source: Andrey_Popov / Shutterstock
Source: K1r1 / Shutterstock
Source: BublikHaus / Shutterstock
Source: Surrphoto / Shutterstock
Source: Max4e Photo / Shutterstock
Source: burnel1 / Shutterstock

Popular Posts
- Birthday T-Shirts Are Easy and Fun!
What better day to talk about birthday t-shirts than on your birthday?! Today is MY birthday and I love thinking...
- The 5 Most Popular T-Shirt Colors Are....
Being in the t-shirt, business we get asked this question all the time. What are the most popular t-shirt colors? No...
- What is a Lift Gate Delivery Service?
When you order bulk t-shirts online, your shipping charges are calculated using the weight of your shipment and your d...
Categories
- All Things Adair
- Branded Apparel
- Buying Guide
- Celebrate Holidays With T's
- Clothing Maintenance
- Colors
- Creative T-Shirt Ideas
- DIY
- Fabrics
- Fruit of the Loom
- Hats
- Helping the Community
- History of T-Shirts
- Learn About Our Products
- Matching T-shirts
- Polos
- Scrubs
- Style
- Sweatshirts
- T-Shirts in Sporting Events
- Team T-shirts
- The 411 on the T-Shirt Business
- Tie Dye
- Uncategorized
- Underwear
- Wholesale Apparel